Tutoriel
Red lip variation
Step 1
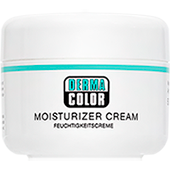
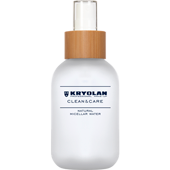
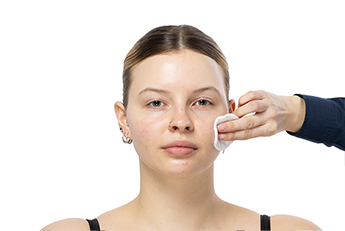
Start cleansing the skin by spraying Natural Micellar Water 120 ml on a cotton pad and gently massaging it into the skin to further remove impurities and excess sebum. Apply a generous amount of Crème hydratante Dermacolor Moisturizer Cream all over the face, neck, and eye area. Massage the cream until it’s all absorbed.
Start cleansing the skin by spraying Natural Micellar Water 120 ml on a cotton pad and gently massaging it into the skin to further remove impurities and excess sebum. Apply a generous amount of Crème hydratante Dermacolor Moisturizer Cream all over the face, neck, and eye area. Massage the cream until it’s all absorbed.
Step 2
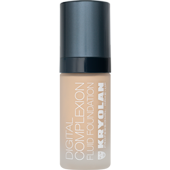
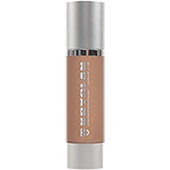
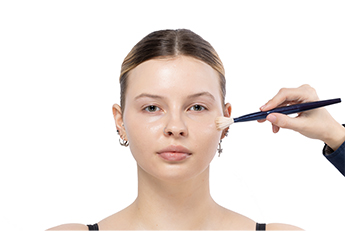
Once the skin is prepped, we start the look with a light layer of coverage to create a flawless skin finish. Apply the Digital Complexion Fluid Foundation (here in Y24 & O12) in very thin layers. Stipple on the product rather than using brush strokes. This will ensure you recreate true skin texture. Let the product self-set.
Once the skin is prepped, we start the look with a light layer of coverage to create a flawless skin finish. Apply the Digital Complexion Fluid Foundation (here in Y24 & O12) in very thin layers. Stipple on the product rather than using brush strokes. This will ensure you recreate true skin texture. Let the product self-set.
Step 3
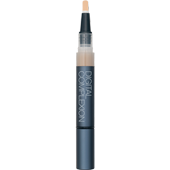
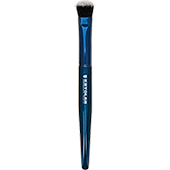
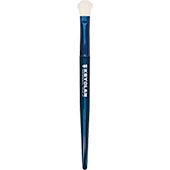
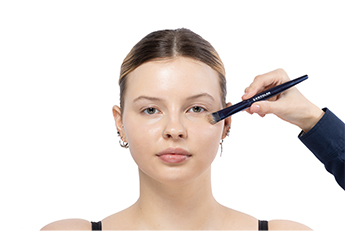
If additional coverage is needed, apply the Digital Complexion Concealer (here in O12) under the eyes and to the center of the face. Use the Pinceau Blue Master Cream Blush Brush to blend the product. Make sure to only use thin layers and build up when needed. Let it self-set.
If additional coverage is needed, apply the Digital Complexion Concealer (here in O12) under the eyes and to the center of the face. Use the Pinceau Blue Master Cream Blush Brush to blend the product. Make sure to only use thin layers and build up when needed. Let it self-set.
Step 4
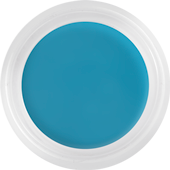
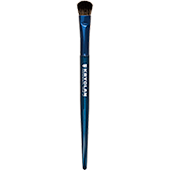
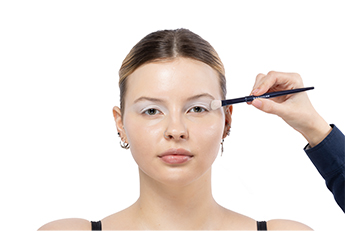
This looks convinces with even two make-up key elements – on the eyes and lips. Let’s start with the eyes. A thin layer of HD Cream Liner in Snow is applied to the mobile lid and inner corner of the eyes and then diffused with a Pinceau Blue Master Eye Shadow Blending Brush up to the brow. This works as a base for the pigments to grip onto.
This looks convinces with even two make-up key elements – on the eyes and lips. Let’s start with the eyes. A thin layer of HD Cream Liner in Snow is applied to the mobile lid and inner corner of the eyes and then diffused with a Pinceau Blue Master Eye Shadow Blending Brush up to the brow. This works as a base for the pigments to grip onto.
Step 5
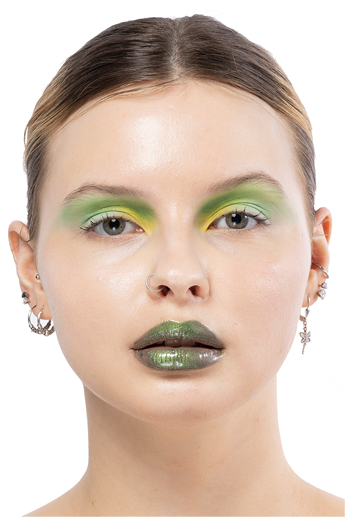
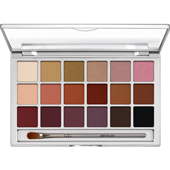
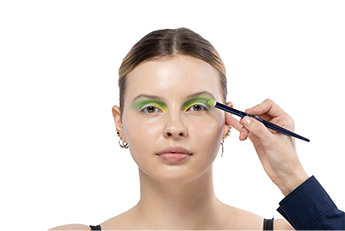
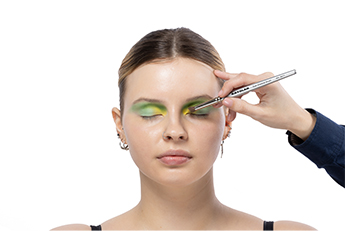
We will mainly use the Eye Shadow Variety 18 couleurs in V2 for this eye look. The shade Turquoise is applied to the center of the lid and blended up towards the brow. The same color is also diffused toward the temples creating a soft framing to the eyes. The shade H 21 is nestled into the inner corner socket and used to define the eyes. This will ensure structure and depth to make the eye make-up stand out.
We will mainly use the Eye Shadow Variety 18 couleurs in V2 for this eye look. The shade Turquoise is applied to the center of the lid and blended up towards the brow. The same color is also diffused toward the temples creating a soft framing to the eyes. The shade H 21 is nestled into the inner corner socket and used to define the eyes. This will ensure structure and depth to make the eye make-up stand out.
Step 6
For the next layer on the eyes, the shade lemon from the same Eye Shadow Variety 18 couleurs (V 2) palette is pressed into the inner corners of the eyes and then softly blended to connect with the turquoise. Use a suitable brush for this application to achieve a dense and intense pigment.
For the next layer on the eyes, the shade lemon from the same Eye Shadow Variety 18 couleurs (V 2) palette is pressed into the inner corners of the eyes and then softly blended to connect with the turquoise. Use a suitable brush for this application to achieve a dense and intense pigment.
Step 7
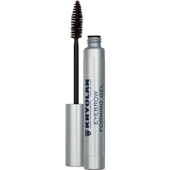
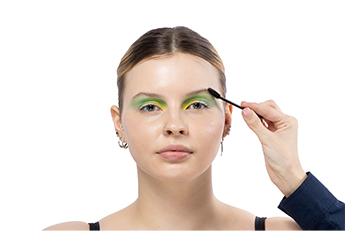
The brows themselves are not a feature but still need to be groomed. Therefore, a thin layer of the Eyebrow Forming Gel in Clear is combed through the brows to groom them into place. A generous layer of Dramatic Volume Mascara is brushed through the upper lashes for intense black pigment and definition to provide another level of depth to the eyes.
The brows themselves are not a feature but still need to be groomed. Therefore, a thin layer of the Eyebrow Forming Gel in Clear is combed through the brows to groom them into place. A generous layer of Dramatic Volume Mascara is brushed through the upper lashes for intense black pigment and definition to provide another level of depth to the eyes.
Step 8
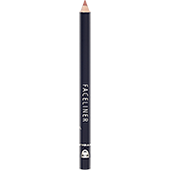
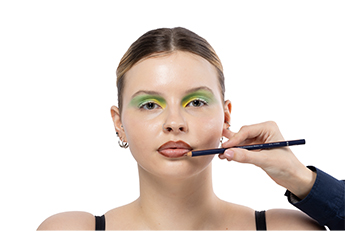
Moving on to the lips, Faceliner in 20 is used to outline the border of the lip to create a strong contour, keeping in line with the current lip trends this season.
Moving on to the lips, Faceliner in 20 is used to outline the border of the lip to create a strong contour, keeping in line with the current lip trends this season.
Step 9
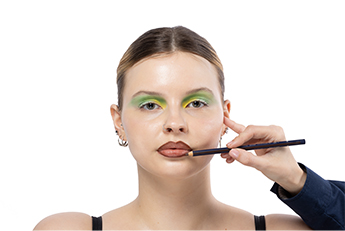
The center of the lip is then filled in with Faceliner in 24 to create a warm-toned base. Blend this into the Faceliner in 20, which you applied in the previous step.
The center of the lip is then filled in with Faceliner in 24 to create a warm-toned base. Blend this into the Faceliner in 20, which you applied in the previous step.
Step 10
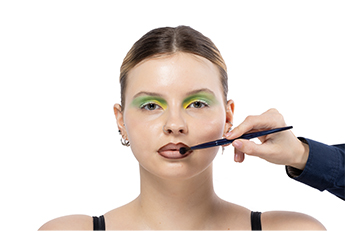
The Pinceau Blue Master Eye Shadow Blender Brush is used to lightly press a minimal layer of Digital Complexion Concealer in O12 into the center of the lips until the desired color and impact are achieved. This not only acts as a base for the final lip color but also supports the self-setting of the lip products to have a long-lasting effect.
The Pinceau Blue Master Eye Shadow Blender Brush is used to lightly press a minimal layer of Digital Complexion Concealer in O12 into the center of the lips until the desired color and impact are achieved. This not only acts as a base for the final lip color but also supports the self-setting of the lip products to have a long-lasting effect.
Step 11
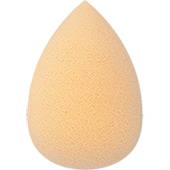
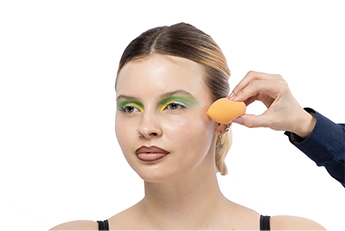
Before applying the final lip color, Shimmering Event Foundation in Pearl is worked into the skin with a Éponge Unicorn Perfecter Sponge. Press the product onto the cheekbones, the bridge of the nose, and the upper lip line to achieve a soft, radiant glow.
Before applying the final lip color, Shimmering Event Foundation in Pearl is worked into the skin with a Éponge Unicorn Perfecter Sponge. Press the product onto the cheekbones, the bridge of the nose, and the upper lip line to achieve a soft, radiant glow.
Step 12
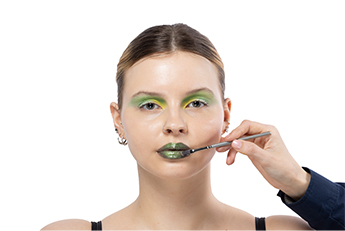
The soon-to-be-launch Halo Gloss in Chameleon is applied all over the lip using a flat synthetic brush to ensure an even application and coverage. This makes the lip stand out with an eccentric expression. The super glowing iridescent color connects perfectly with the eye make-up for a bold look.
The soon-to-be-launch Halo Gloss in Chameleon is applied all over the lip using a flat synthetic brush to ensure an even application and coverage. This makes the lip stand out with an eccentric expression. The super glowing iridescent color connects perfectly with the eye make-up for a bold look.
Step 13
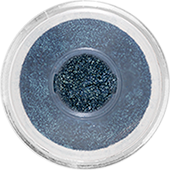
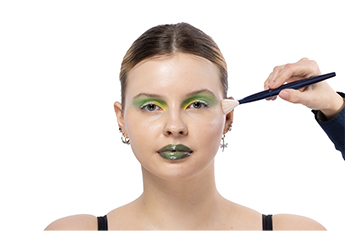
Finally, we are adding a highly reflective element to the skin. For this, a small amount of the Holographic Pigments in Rainbow is mixed into the Shimmering Event Foundation in Pearl to create a custom shade that reflects intensively. The complementing, personalized shade brings together all elements of the look.
Finally, we are adding a highly reflective element to the skin. For this, a small amount of the Holographic Pigments in Rainbow is mixed into the Shimmering Event Foundation in Pearl to create a custom shade that reflects intensively. The complementing, personalized shade brings together all elements of the look.

